


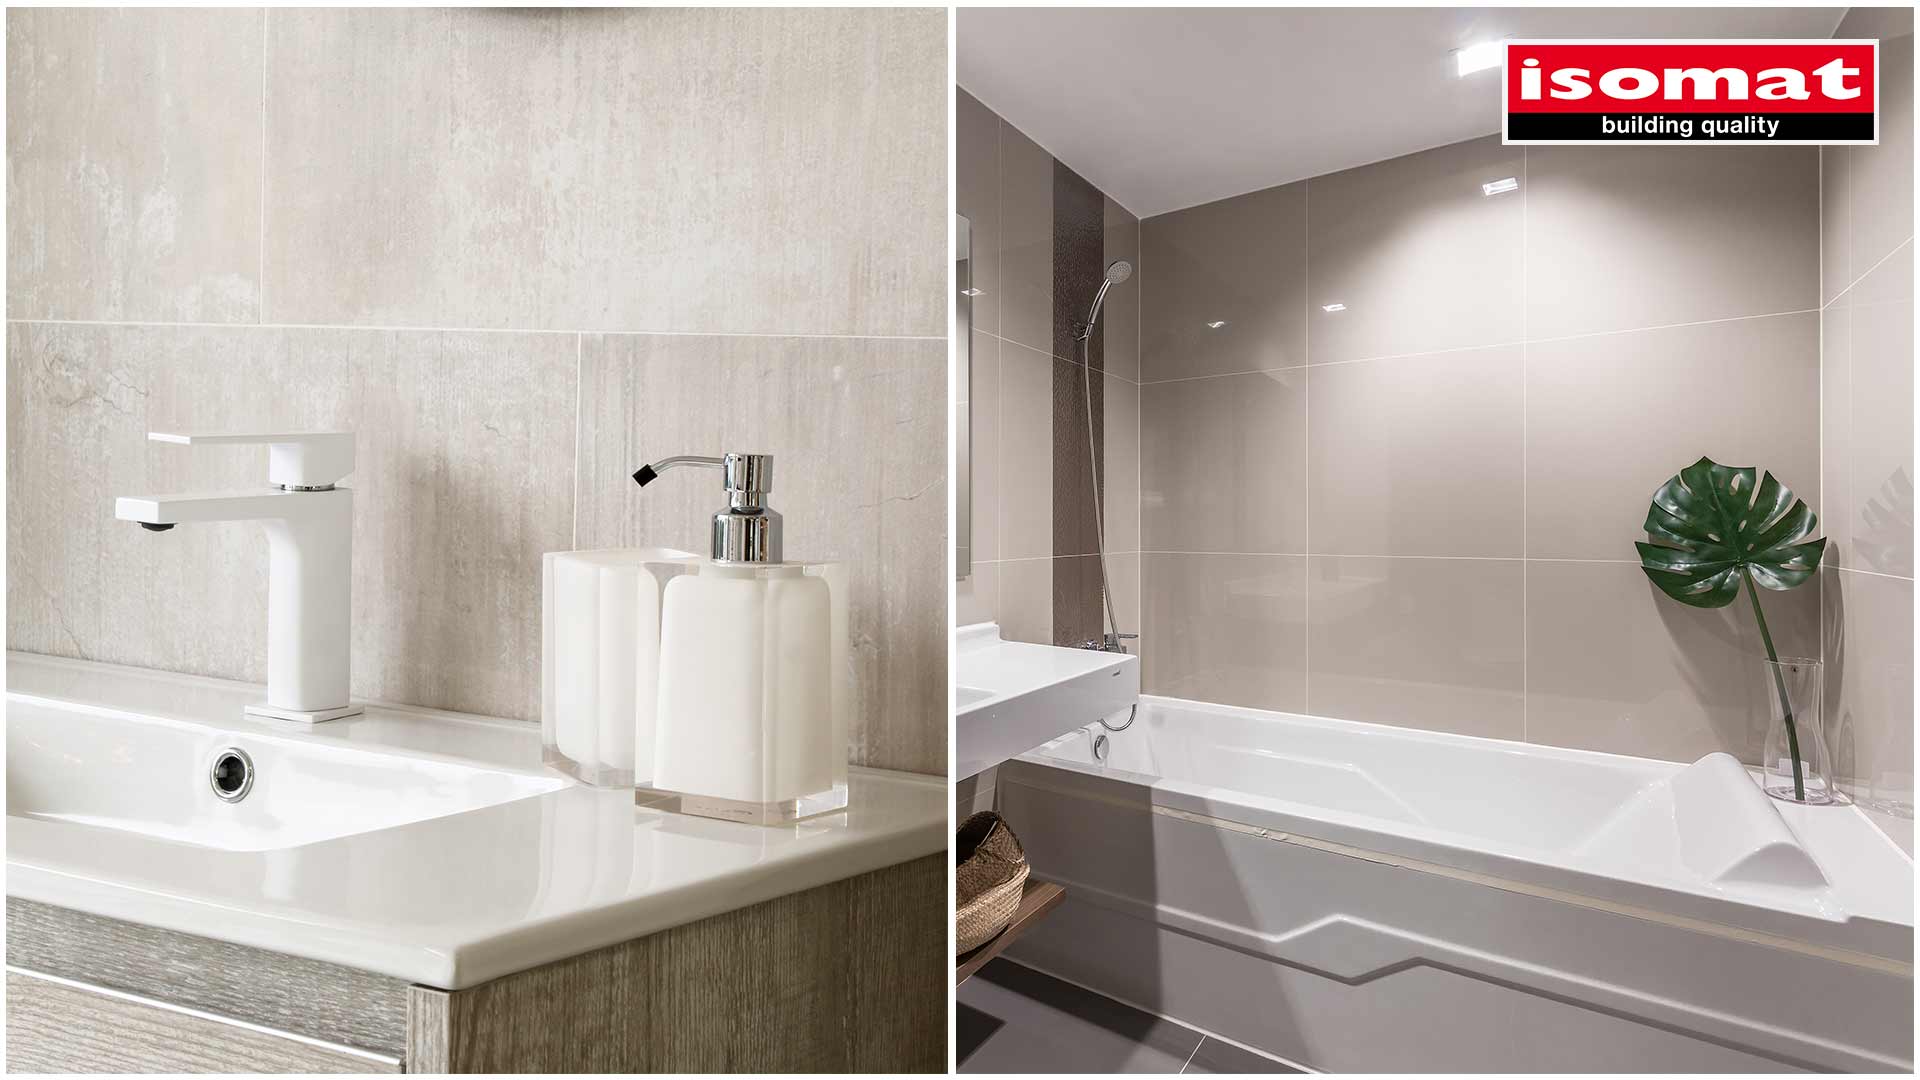
Do you want to get rid of the disgusting appearance of the tile joints around the washbasin or the bathtub, and create a sense of cleanliness and hygiene in your bathroom?
Give your bathroom protection from moisture
The solution is both cheap and simple! You just need to follow the steps outlined below, and we’re certain that you’ll like the result as well as how easily you’ve achieved it.
Any silicone that’s applied to the points where sanitary ware meet the tiles, as well as where walls and floors meet in our bathroom, deteriorates, frays, and gets dark due to the destructive long-term effects of salts, moisture, and soap.
Moldy silicone is certainly an ugly sight, but its restoration can happen easily and quickly. We need to act promptly, though, to prevent further moisture penetration.
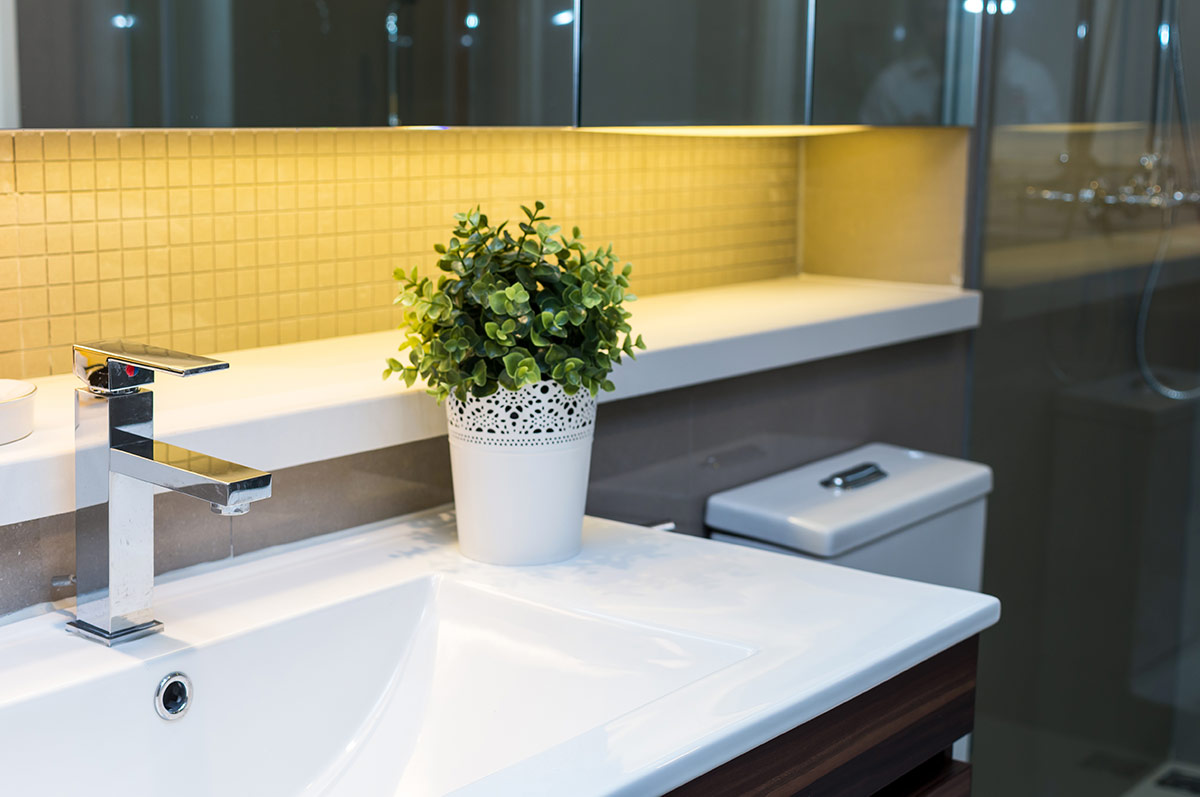
How can I apply silicone in my bathroom?
We first remove residue from previous silicone sealant applications with a spatula, a razor, or silicone cleaners, making sure that we avoid damaging tiles or ceramic items that are in contact with it. Then, we dry the final layer, removing dust, loose materials, oils, etc.
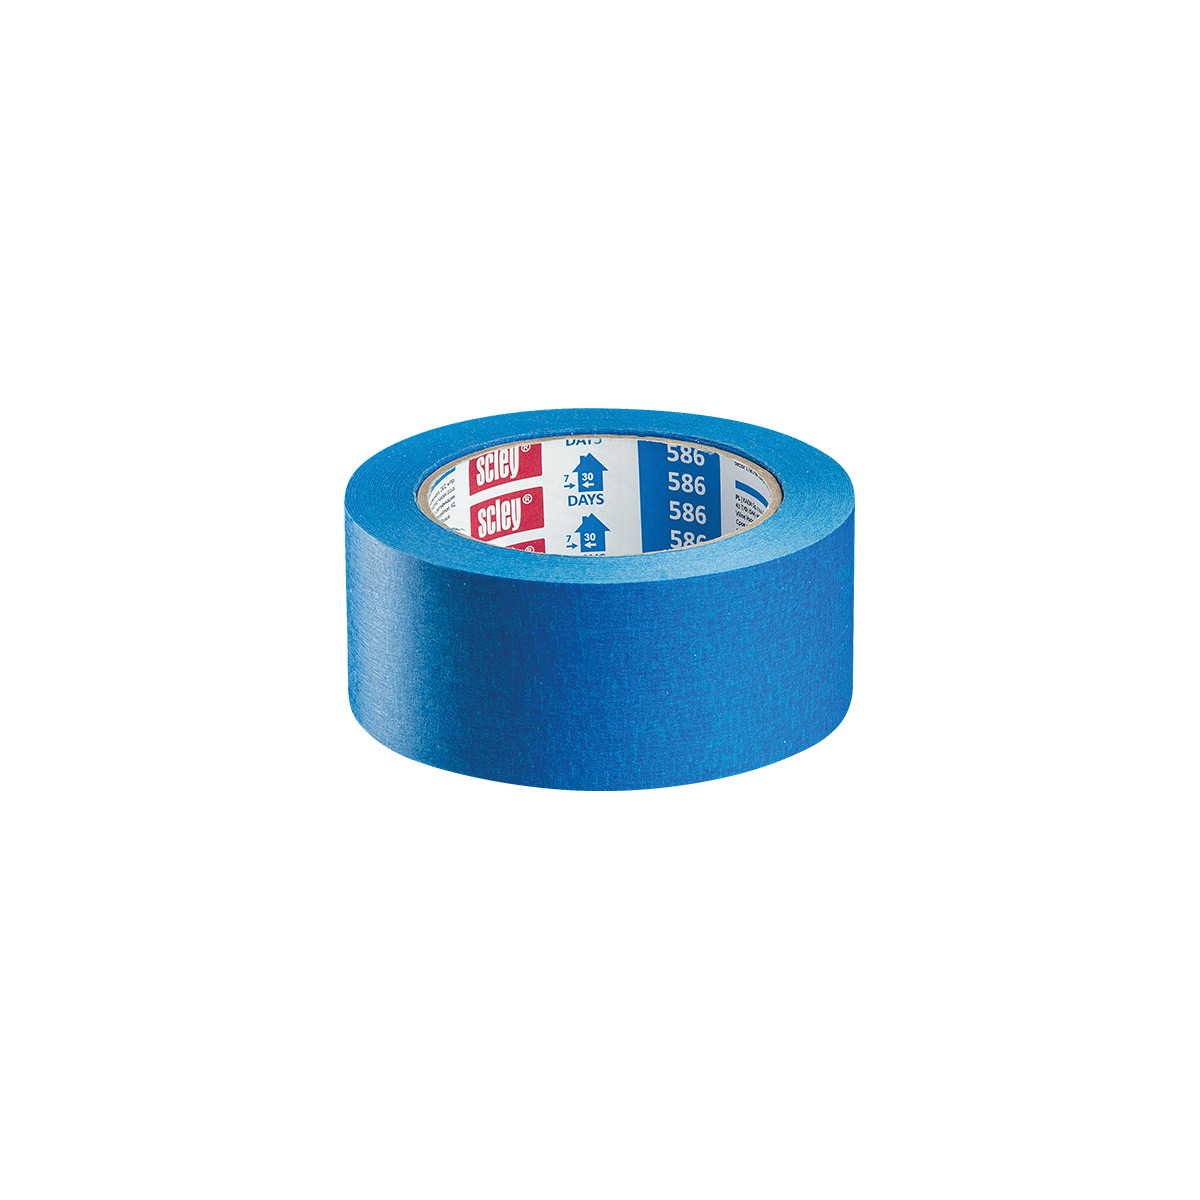
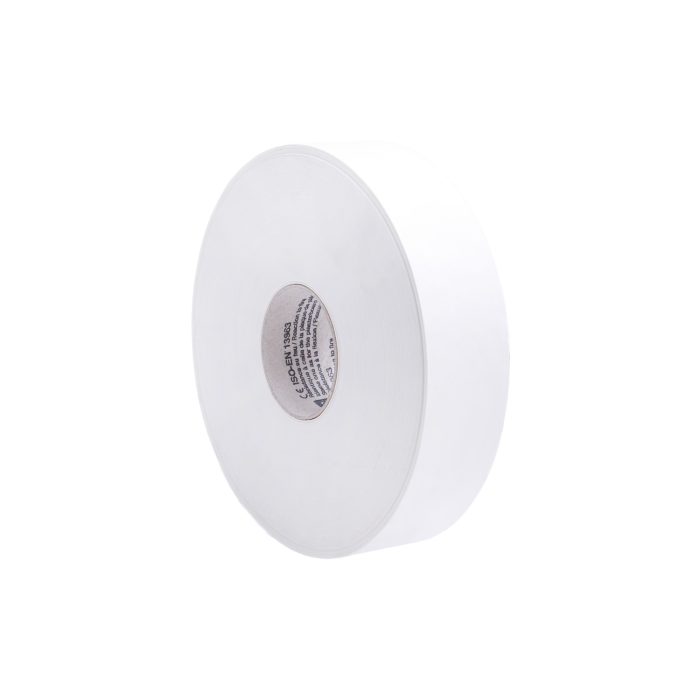
To avoid getting the surrounding area dirty, we best apply masking tape at the edges of the joints, which we will remove right after we seal the joints, before a surface film is created.
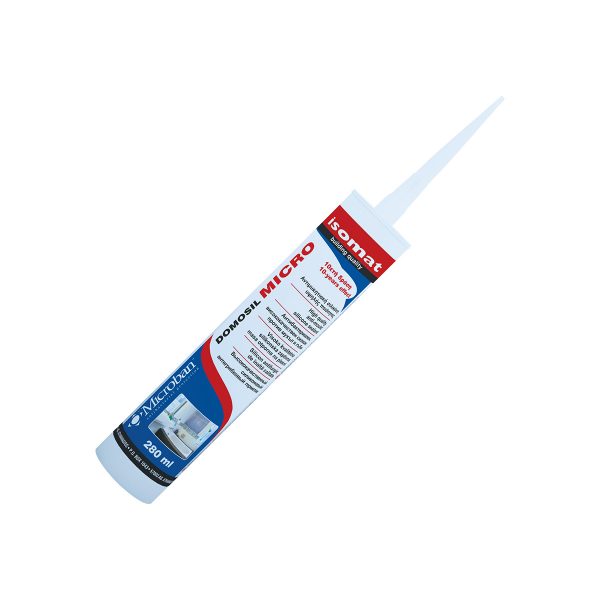
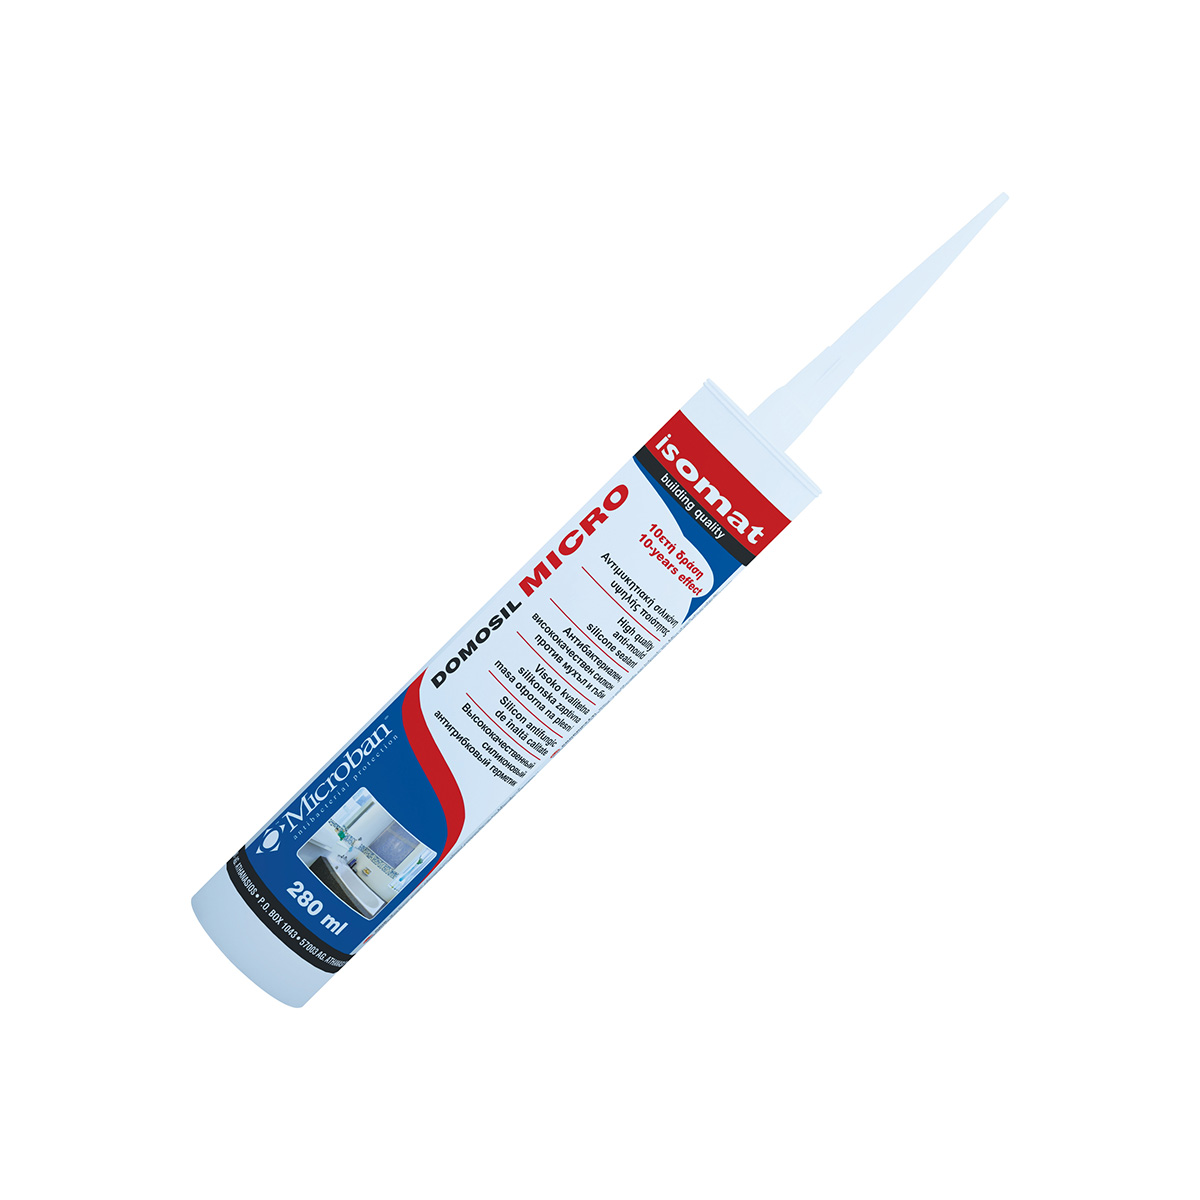
We choose to use the high-quality anti-mold silicone sealant DOMOSIL-MICRO, which is equipped with the antibacterial protection technology and has a high degree of resistance to aging and water.
We place the cartridge in the special gun and cut the nozzle sideways so that it doesn’t penetrate into but rather presses against the sides of the joint. We apply the silicone sealant by guiding the cartridge lengthwise, at a 45° corner against the joint’s axis. While the silicone is still wet, we must smooth it with the aid of a spatula or with our finger.
That’s it! When the material is dry and hardened, our work is done. Do you like the result? Then you can rest well for a while! In normal cleaning conditions, DOMOSIL-MICRO remains unchanged even 10 years later!
Tip
- Cleaning the tools: The tools must be cleaned thoroughly while the material is still wet, with water. After the material dries, the tools can only be cleaned mechanically.
↓ 50%